Tools for this step:
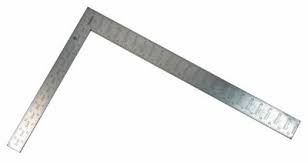
Carpenter square Tape measure


Chop Saw

Adjustable Clamp Welder


Wheel Rim Drill


Per section for this step:
1 - 12'
2 - 19"
Welding Rods
4X8 sheet of plywood (This can be an old used piece)
6 - 2X6 pieces of lumber (each 12" -18" long, again, this can be scrap)
2" Screws
Let's begin.
Make 4 of these sections, or as many as you want
your room divider to be wide. Ours are each
approximately 19" wide by 5' 4" tall, so 4 are about
6' 4" wide.

12' piece of 3/8" rod. Place the mark at the top of
the wheel rim and clamp it at that point. Now, while one person stands on the rim to keep it from moving, the other person bends the rod around the rim until the
sides are parallel. Be sure to OVER BEND, because
it will go out some when you let go. Remove the clamp from the rod and place on a sheet of plywood.
Excuse the dirty clothes. We do not work in dress clothes.

are uniform. Make sure you use the section with the
shortest side, because that will determine the height of
your room divider.
To do this, we started by screwing a 2X6 board square
to the top of the sheet of plywood. Bring the curved rod
to the bottom of this board and start working down one
side of the rod, screwing a board square to the side of
the plywood sheet.
A plywood sheet should have manufactured sides, so it
should be square. Do one more board on that side, then
move over to the other side, making your boards square
to the top board. Make sure the top boards are the same
distance apart as the bottom boards. Finally screw the
last board across the bottom, in line with the bottom of the
shortest side of the rod. Make sure this board is square to
both the bottom side boards.

Put the top rod in at your mark and weld. Put the bottom rod in up against the bottom board and weld. After the welding has cooled, cut off any overhang on the chop saw.


even. The last one is on a different board, so it looks lower. We are well pleased with our project so far,
That's enough for step 1. The next step will be a lot of
cutting and welding.


 Posts
Posts


3 comments:
Looking good.
Phanie, you mean your father?
Sure, the room divider too!
Post a Comment