Paint brush
Rags
Plumbers Abrasive Mesh, Emory cloth or sandpaper
Materials for this step
 Paint (I used Rustoleum Hammered in Dark Bronze)
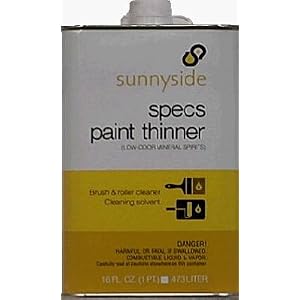
 Distilled white vinegar
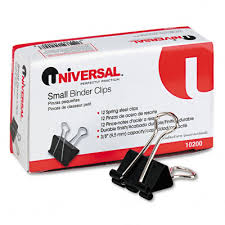 Binding clips

Steel Repair and Filler
.
Finally, the last step!

Paint with your desired paint. I used Rustoleum hammered paint because it is supposed to hide flaws and imperfections found in scratched, rusted, or pitted metals. It also did not require a primer. So, if you go with another type of paint, you may need a primer also. The silver spreader tabs on the binder clips are removable, so, you can paint over the clips and take them off after you've used them to open the clips to put the pictures in. Once you have your pictures inserted, you can take them out and have a clear view of your pictures
If I were to do this again, I'd change a couple things.
#1 If I used brush on paint, I'd put the clips on after and do some touch-up. I had trouble with the clips coming off unless I was really gentle painting around them.
#2 Better yet, I'd probably spend the extra money and go with spray paint. They do make the hammered in a spray paint.
I will have pictures later this afternoon.


 Posts


No comments:
Post a Comment